Thursday, November 21, 2024
DIY Lean-To Shed: Step-by-Step Instructions for Your Backyard Shed

DIY Lean-To Shed: Your Step-by-Step Guide to Backyard Storage
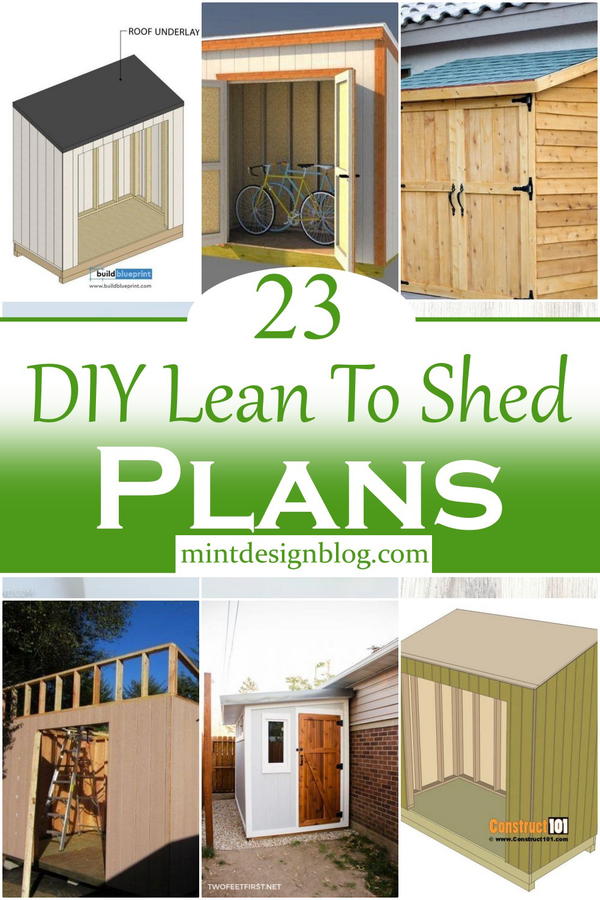
Building your own lean-to shed is a rewarding project that adds valuable storage space to your backyard while providing a fantastic opportunity to learn valuable DIY skills. This comprehensive guide walks you through each step, ensuring a successful build even for novice builders. Forget expensive pre-fabricated sheds; let's build something unique and tailored to your needs!
Planning and Preparation: Laying the Foundation for Success
Before you even touch a tool, meticulous planning is crucial. Begin by determining the ideal location for your lean-to. Consider proximity to your house (for easier access to utilities if needed), sun exposure, and any existing landscaping features. Next, decide on the dimensions of your shed. A smaller shed is simpler to build, but a larger one offers more storage. Sketch your design, noting the overall length, width, and height. Once you have your dimensions, calculate the quantity of materials needed. This includes pressure-treated lumber for the frame, roofing materials (e.g., plywood and asphalt shingles), screws, nails, and any optional features like a door or window. Remember to account for waste when purchasing lumber.
Building the Frame: The Backbone of Your Lean-To
Laying the Foundation
Start by creating a level base for your shed. This could involve laying down a concrete slab, using compacted gravel, or simply creating a level surface with landscaping timbers. Ensure the base is perfectly level using a leveler to prevent future problems with structural integrity.
Constructing the Walls
Next, construct the frame of your lean-to. This typically involves building two vertical side walls that are secured to a horizontal wall attached to your house or a supporting structure. Begin by cutting the pressure-treated lumber to the appropriate lengths for the vertical and horizontal supports. Use appropriate fasteners (e.g., long screws and metal brackets for added strength) to assemble the walls. Double-check that all corners are square and plumb using a speed square and level before proceeding to the roof frame.
Building the Roof Frame
Constructing the roof frame is critical for the shed's stability and weather resistance. This involves attaching rafters to the top of your side walls, creating a sloping roof that sheds water away from the shed. Use appropriate lumber and fasteners, ensuring the rafters are evenly spaced and secured firmly. The angle of your roof will depend on your local climate and snowfall expectations; steeper roofs better handle heavy snow.
Roofing and Finishing Touches: Adding the Finishing Touches
Once the frame is complete, it's time to add the roof. This involves securing plywood sheeting to the rafters, creating a solid base for your roofing material. Use exterior-grade plywood and ensure the sheets are properly aligned and fastened. After the plywood is secured, install your chosen roofing material. Asphalt shingles are a cost-effective and readily available option. Follow the manufacturer’s instructions for proper shingle installation to ensure a watertight seal. Finally, add any finishing touches such as a door, window, or shelving. Consider adding a layer of waterproof sealant to all exposed wood surfaces to protect your shed from the elements.
Essential Tools and Materials
Before you begin, gather these essential tools and materials:
- Pressure-treated lumber (various sizes)
- Plywood sheeting (exterior-grade)
- Roofing material (e.g., asphalt shingles)
- Screws and nails (galvanized for exterior use)
- Measuring tape
- Level
- Saw (circular saw or hand saw)
- Drill
- Hammer
- Safety glasses
- Work gloves
- Optional: Door and window hardware, sealant, paint or stain
Remember safety is paramount! Always wear appropriate safety gear, such as safety glasses and work gloves, throughout the project. Take your time, and don't hesitate to seek assistance if needed. With careful planning and execution, you'll soon have a sturdy and useful lean-to shed in your backyard.
No comments:
Post a Comment
Note: Only a member of this blog may post a comment.