Thursday, November 7, 2024
Building a sturdy 10x12 garden shed: diy guide and plans

Alright, folks, you've decided to build a shed! And not just any shed, but a sturdy 10x12 masterpiece that'll stand strong against the elements for years to come. This ain't no flimsy, wobbly, "it'll do" shed we're talking about. We're talking about a real workhorse, ready to store your tools, bikes, lawnmower, and maybe even a comfy chair for a little quiet time.
Building a shed from scratch is a rewarding experience, trust me. You'll learn new skills, feel a sense of accomplishment, and end up with a custom-built space that's perfect for your needs. But it's also a project that requires some planning and a bit of elbow grease. That's where this guide comes in.
Let's Break It Down!
Before we dive into the nitty-gritty, here's a quick overview of what we'll be covering:
Planning is Key: We'll start by figuring out your exact shed dimensions, the location, and choosing the right materials.
Foundation Strong: A solid foundation is the backbone of any good shed, and we'll explore the different options available.
Framing Up: Time to get those walls and roof up! We'll walk through the process of framing and sheathing.
Roofing and Siding: Choosing the right roofing and siding is crucial for weather protection and aesthetics. We'll discuss different options and installation techniques.
Doors and Windows: Let's add some character (and light!) with the right doors and windows.
Finishing Touches: Time to add the finishing touches, like painting, trim, and maybe even a little landscaping around the shed.
Step 1: The Big Plan
Let's start by getting a clear vision for your shed. This is where you dream a little and get practical.
Dimensions: We're aiming for a 10x12 foot shed, but think about the exact size you need. Will it be just for storage, or do you want to add a workbench, a small refrigerator, or even a comfy reading nook?
Location: Where will your shed live? Is it a flat, level spot? Consider drainage, sunlight, and proximity to your home (for easy access). You might even want to consult with your local building department about regulations regarding shed placement.
Materials: Choose sturdy and durable materials. Pressure-treated lumber is a good choice for the foundation, and you'll need framing lumber for the walls and roof. Consider using a quality plywood for sheathing, and then choose your siding and roofing based on your budget and aesthetic preferences.
Step 2: Foundation Fundamentals
A sturdy foundation is the key to a long-lasting shed. You have a few options, each with its own pros and cons:
Concrete Slab: The most durable and long-lasting option. It's also the most expensive, but offers a level and solid base for your shed.
Concrete Block: A less expensive alternative to a slab. It's easy to build, but might require a bit of leveling.
Pier Foundation: This option involves setting individual concrete piers at specific intervals. It's cost-effective and can be used on sloped terrain.
Pre-Built Foundation: If you're looking for a quick and easy option, you can purchase pre-built foundation kits. These are usually made of pressure-treated lumber and are very affordable.
Step 3: Framing Up the Structure
Alright, let's start putting those walls up! The process involves using framing lumber to build a sturdy and strong skeleton for your shed. Here's the breakdown:
Wall Framing: Start with the floor joists, which will run perpendicular to the shed walls. Then, build the walls, using stud walls and plates to create strong and stable structures.
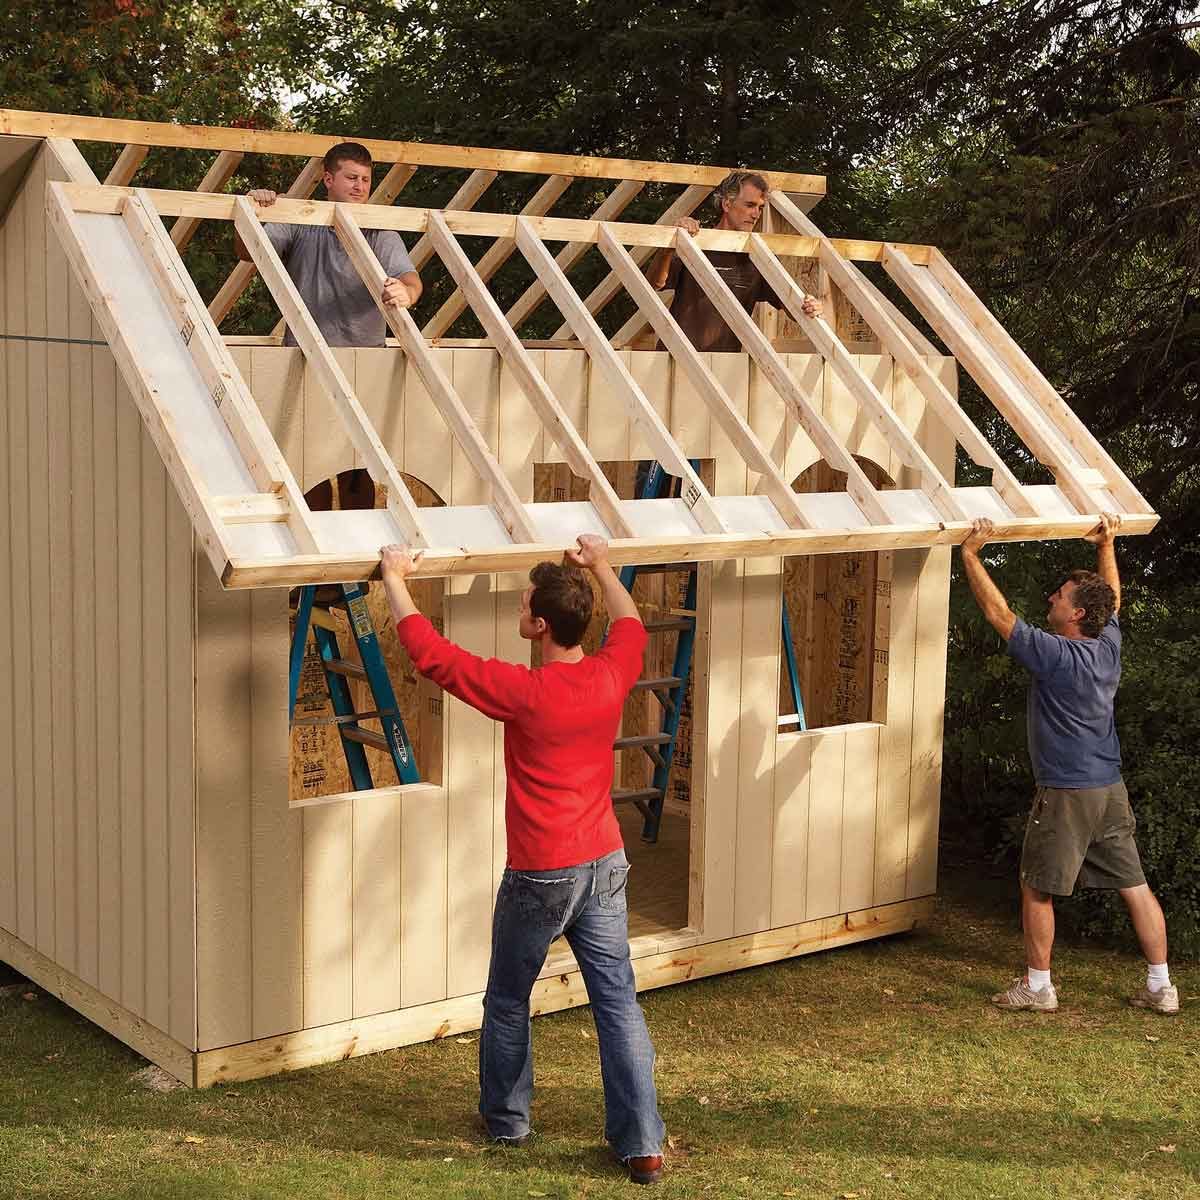
Roof Framing: The roof framing involves building rafters, which will support the roof sheathing. There are different types of roof trusses, so choose one that suits your design and skill level.
Sheathing: Sheathing is the plywood or OSB that you attach to the framing. It provides structural support and creates a solid base for your siding and roofing.
Step 4: Roofing It Up
Time to protect your shed from the elements! There are several roofing options available, each with its own pros and cons:
Asphalt Shingles: The most common and affordable option. They come in various colors and styles.
Metal Roofing: Durable and long-lasting, but can be more expensive. Metal roofs are also energy-efficient.
Tile Roofing: A stylish and durable option, but can be quite expensive.
Wood Shingles: A classic look, but require more maintenance than other options.
Step 5: Siding and Trim
The siding you choose will give your shed its character and style. Here are some popular options:
Vinyl Siding: Affordable, durable, and easy to clean. It comes in various colors and styles.
Wood Siding: A classic look, but requires more maintenance than vinyl.
Fiber Cement Siding: A durable and fire-resistant option, but can be more expensive.
Step 6: Adding Doors and Windows
Doors and windows add functionality and aesthetics to your shed. Consider these factors:
Door Size: Choose a door that's wide enough to easily accommodate your needs.
Window Size and Placement: Windows add natural light and ventilation. Consider the location and size based on your needs.
Step 7: Finishing Touches
Now for the fun part! Give your shed that final touch with painting, trim, and maybe some landscaping.
Painting: Choose a paint color that complements your home and garden. Consider using a durable exterior paint that will withstand the elements.
Trim: Add trim around doors, windows, and corners to give your shed a polished look.
Landscaping: Create a beautiful and functional space around your shed with landscaping. Add plants, flowers, and maybe even a patio or walkway.
That's a Wrap!
Building a 10x12 garden shed from scratch is a challenging yet rewarding project. By following this guide, you can create a sturdy, durable, and stylish space for your tools, hobbies, and more. Remember to take your time, plan carefully, and enjoy the process! You've got this!
No comments:
Post a Comment
Note: Only a member of this blog may post a comment.